This 3D pipeline was conducted to showcase rendering techniques that could potentially be used to achieve common effects in real-time interactive applications. I will explain several scenes that were specifically created to showcase different techniques: 3D rendering with OpenGL, Phong Lighting with Directional Lights, Spot Lights and Positional Lights, Shadow Maps with PCF, Normal Mapping and Reflection/Refraction with Cube Maps.
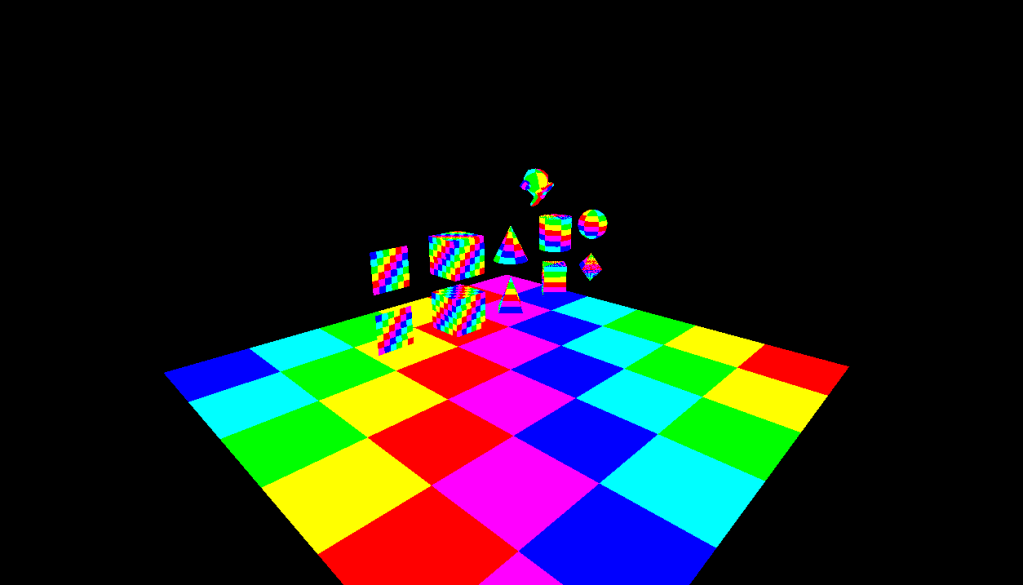
1-OpenGL: 3D Rendering
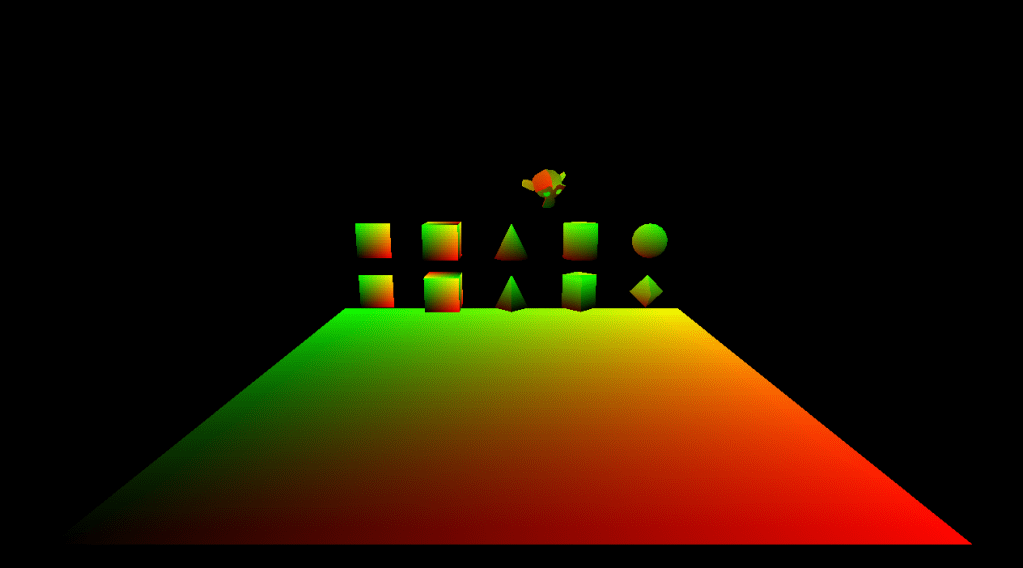
This first part of the project consisted on creating the pipeline from scratch and integrating OpenGL in it. It basically required me to do the pertinent setup of the pipeline.
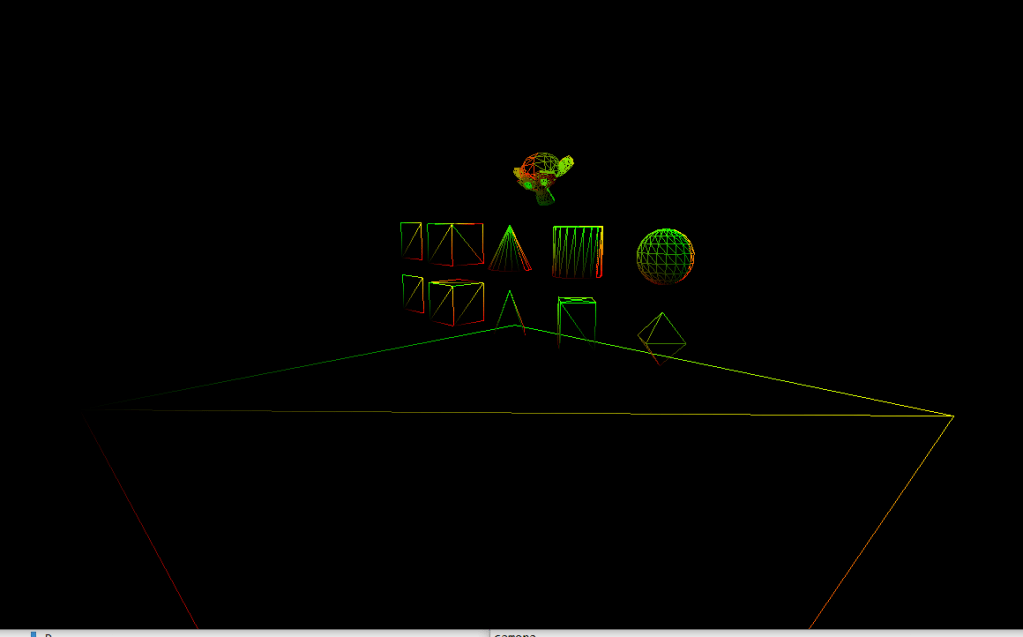
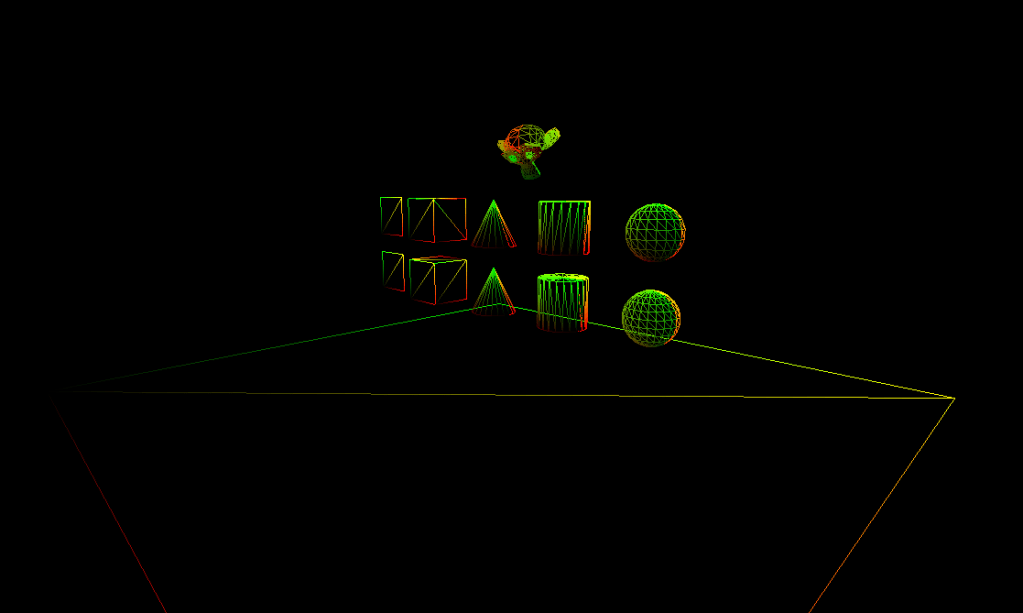
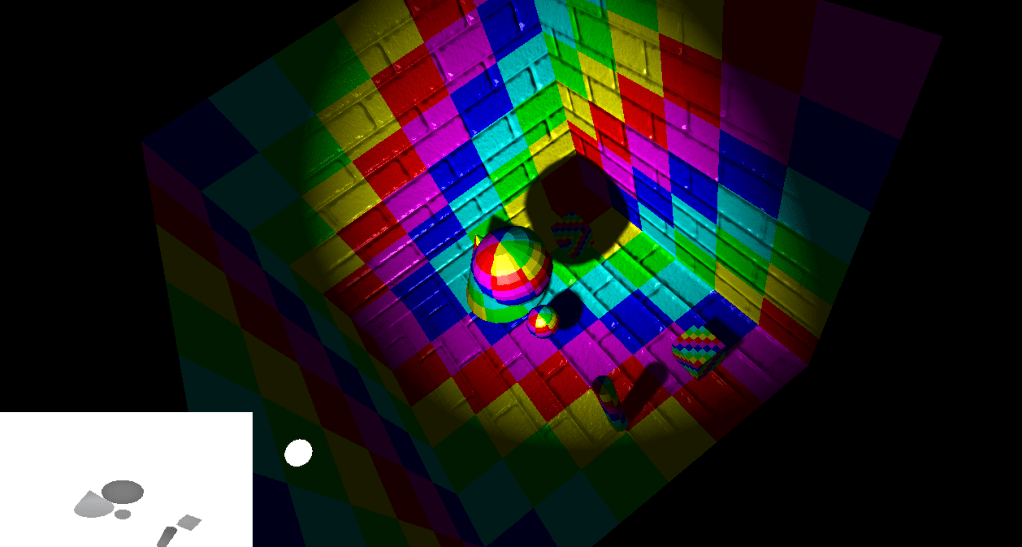
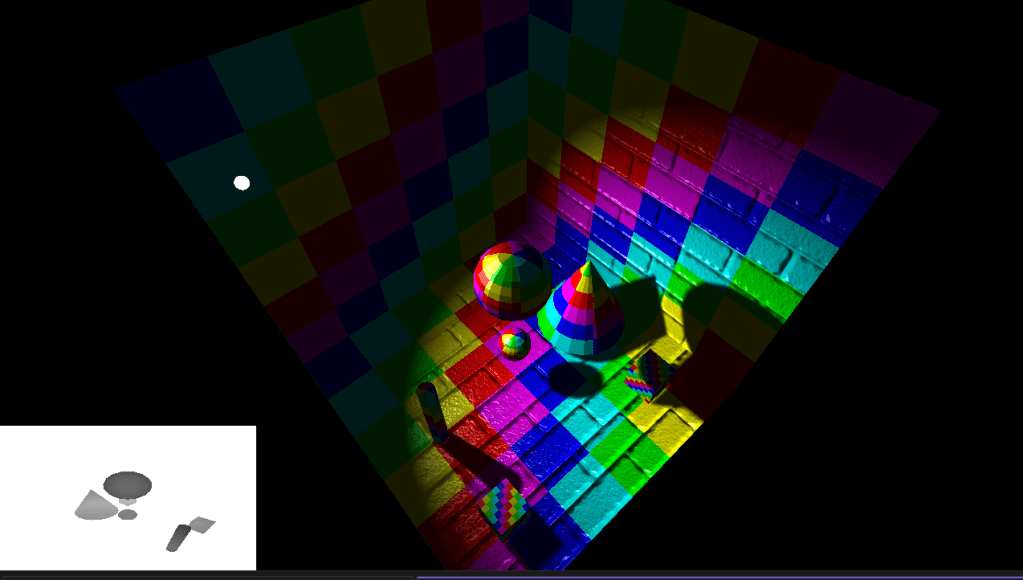
I created a camera that interactivelly moved and a loader that allowed tinyobj to read and load complex data. In the same way, I programmed an object manager that created and managed simple geometry and allowed to change the precision with which this geometry was constructed. In that same stage I generated a multicoloured texture to have soemthing to map to the objects. Finally, the scene has several modes that showcase different things: Coloured, textured, wireframe, normals drawn and averaged normals drawn.
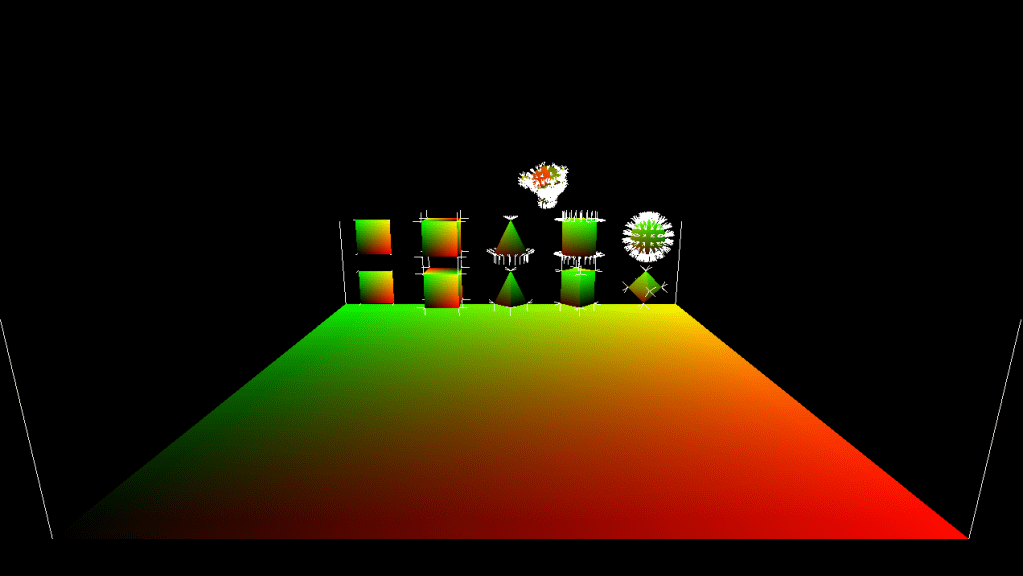


2-OpenGL: Phong Lighting
During this part of the pipeline I implemented lights following the empiric model of Phong Lighting. This model does not follow physically based laws, but comprises a formula that emulates the effects that we try to acquire.
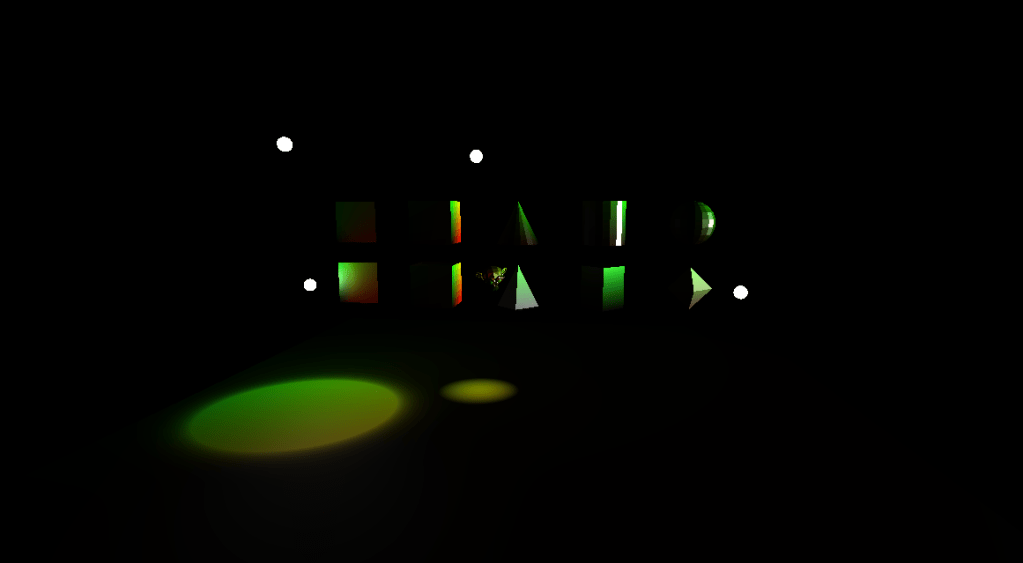
For this scene I added 3 types of dynamic animated lights that illuminate the scenario: Directional Light, Spotlight and Point Light.
3-OpenGL: SHadow Maps
After the lighting stage I added shadows. Shadow Maps are a complementary effect to lighting. To generate this effect I drawed the depth of the scene in a quad and used it to calculate the shadowing intensity of each pixel. This would create hard shadows, so to attenuate the effect and minimize artifacts I added PCF to the equation.
4-OpenGL: Normal Mapping
After the lighting stage I added normal mapping. This was done by computing the tangent space in each piece of vertices. I computed tangents and bitangents and mapped the textures accordingly.
Normal mapping is used to give a sense of depth and setoff to the mesh without the necesity of adding new geometry.
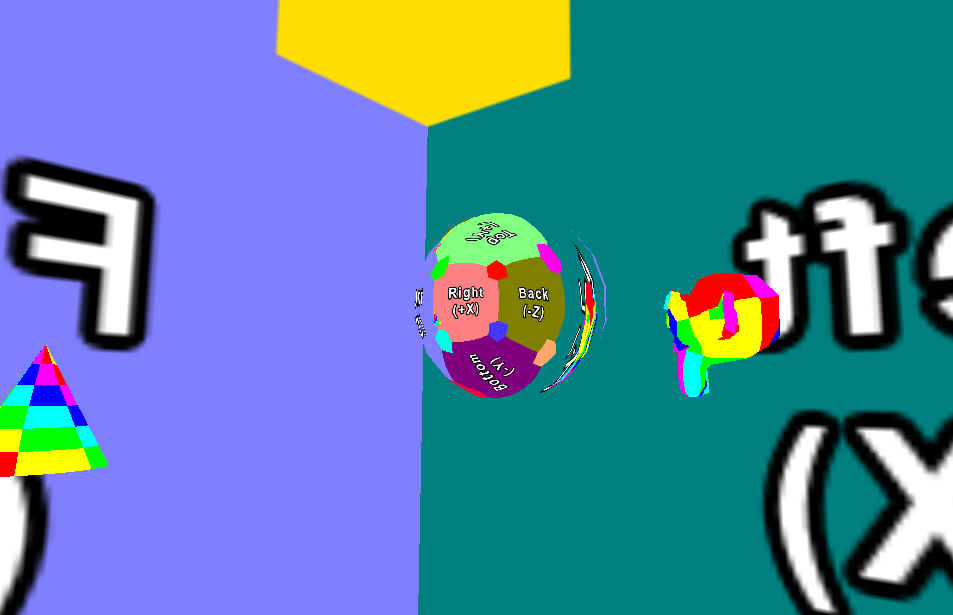
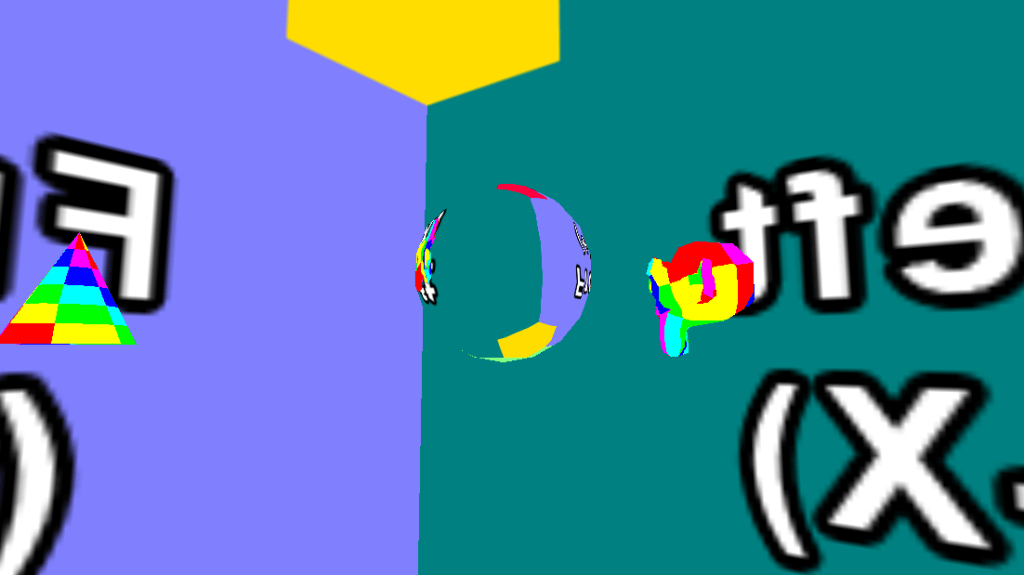
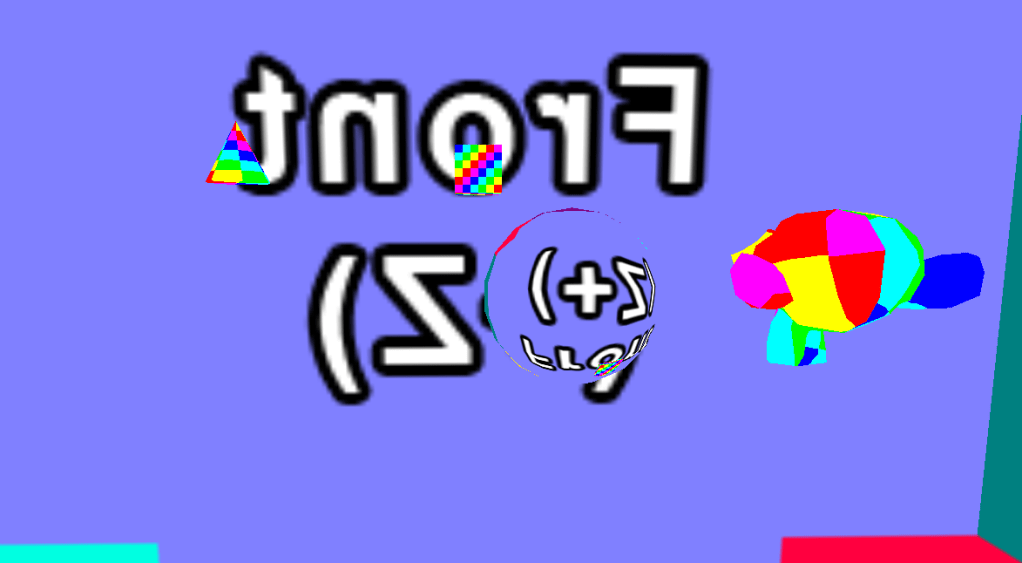
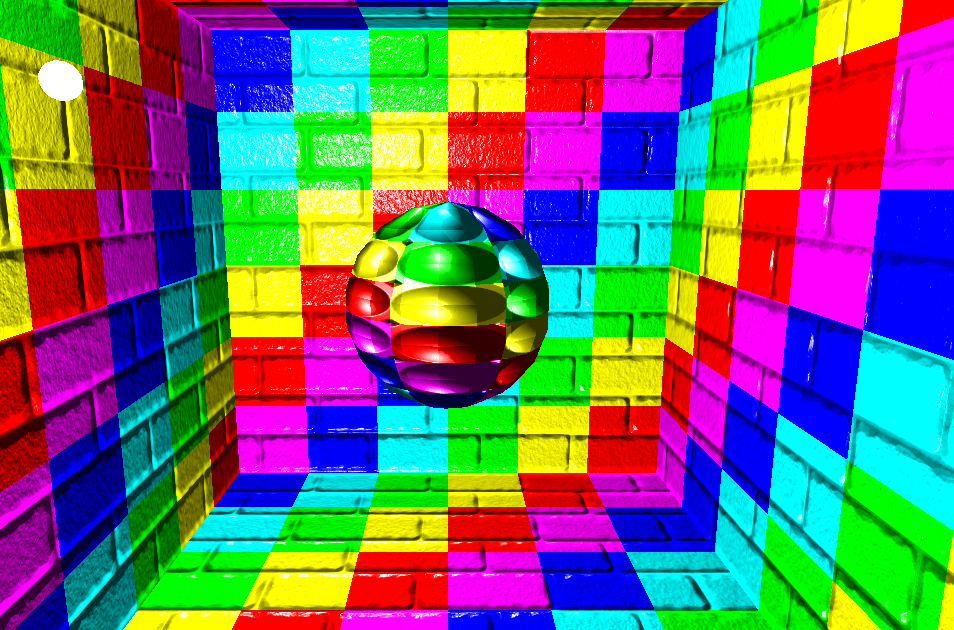
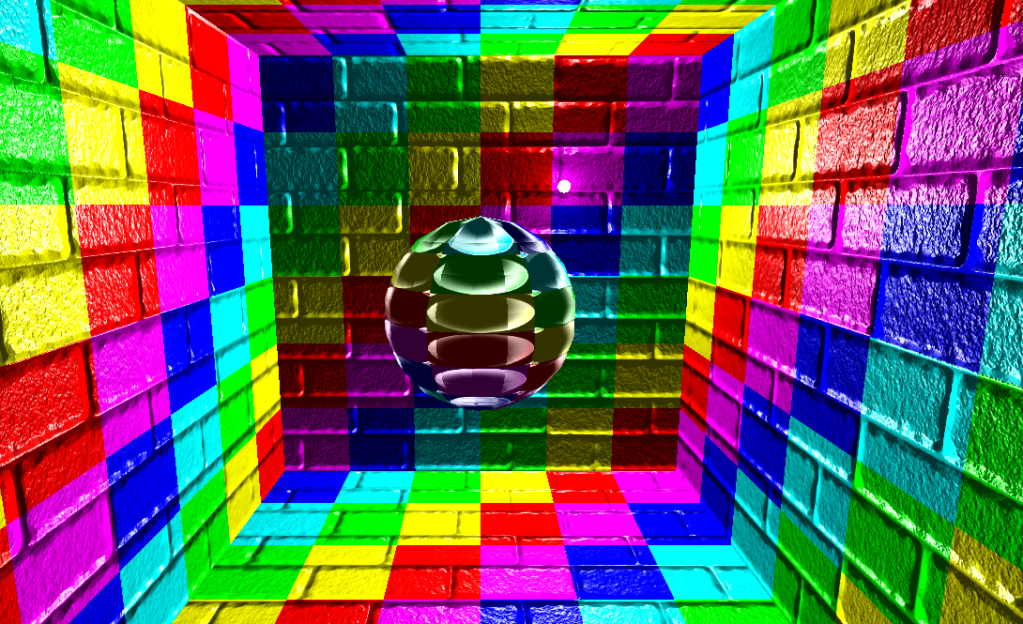
5-OpenGL: Reflection/Refraction with cube maps
Finally, I added reflection and refraction to the scene. For this I generated cube maps and mapped the corresponding face to the ball in the scene, following the way in which light acts to create the effect of a magnifying glass.